Getting started
Create or import a Parix database, issue an API key, and verify the first gateway request.
Use this guide to take an organization from its database list to a ready Parix database with a verified, authenticated TigerBeetle read. The normal first-run path is entirely available in the dashboard.
Before you begin
You need:
- a Parix account with a verified email
- an active organization in which you are a member
- an organization owner or administrator if Stripe billing or API-key management is required
- a secure place to store an API-key secret
Choose the database path that matches your source data:
| Goal | Path | Availability |
|---|---|---|
| Start with an empty shared database for learning or integration work | New database > Developer | One complimentary Developer database per verified user, for life; later Developer databases require billing and available shared-cell capacity. |
| Start with an empty isolated database | New database > Dedicated or Production | Requires an organization with usable Stripe billing. The create catalog controls the providers, regions, storage, and sizes currently available. |
| Move an existing TigerBeetle replica set into Parix | New database > Import database | Requires usable Stripe billing and one readable .tigerbeetle file for every replica in the selected topology. Import is not a Developer shared-plan workflow. |
Developer databases use a shared Parix-operated cell. Dedicated and Production databases use isolated deployments. Every plan is gateway-only: applications never connect directly to TigerBeetle replica addresses.
Complete the first-run workflow
- Open the organization database list at
/{organizationSlug}. - Open the New database menu.
- Choose New database to provision an empty database, or Import database to upload an existing replica set.
- Complete the selected workflow:
- Open the new database and wait until its dashboard reports Ready. A Dedicated or Production database normally passes through Provisioning first; a Developer placement can become active immediately.
- Generate a key at
/settings/api-keys/generate. Choose Specific database for an application that needs only this database. - On the database dashboard, select Connect and follow Connect to a database.
- Run the read-only
query_accountsverification request. An empty result is a successful check for a new database.
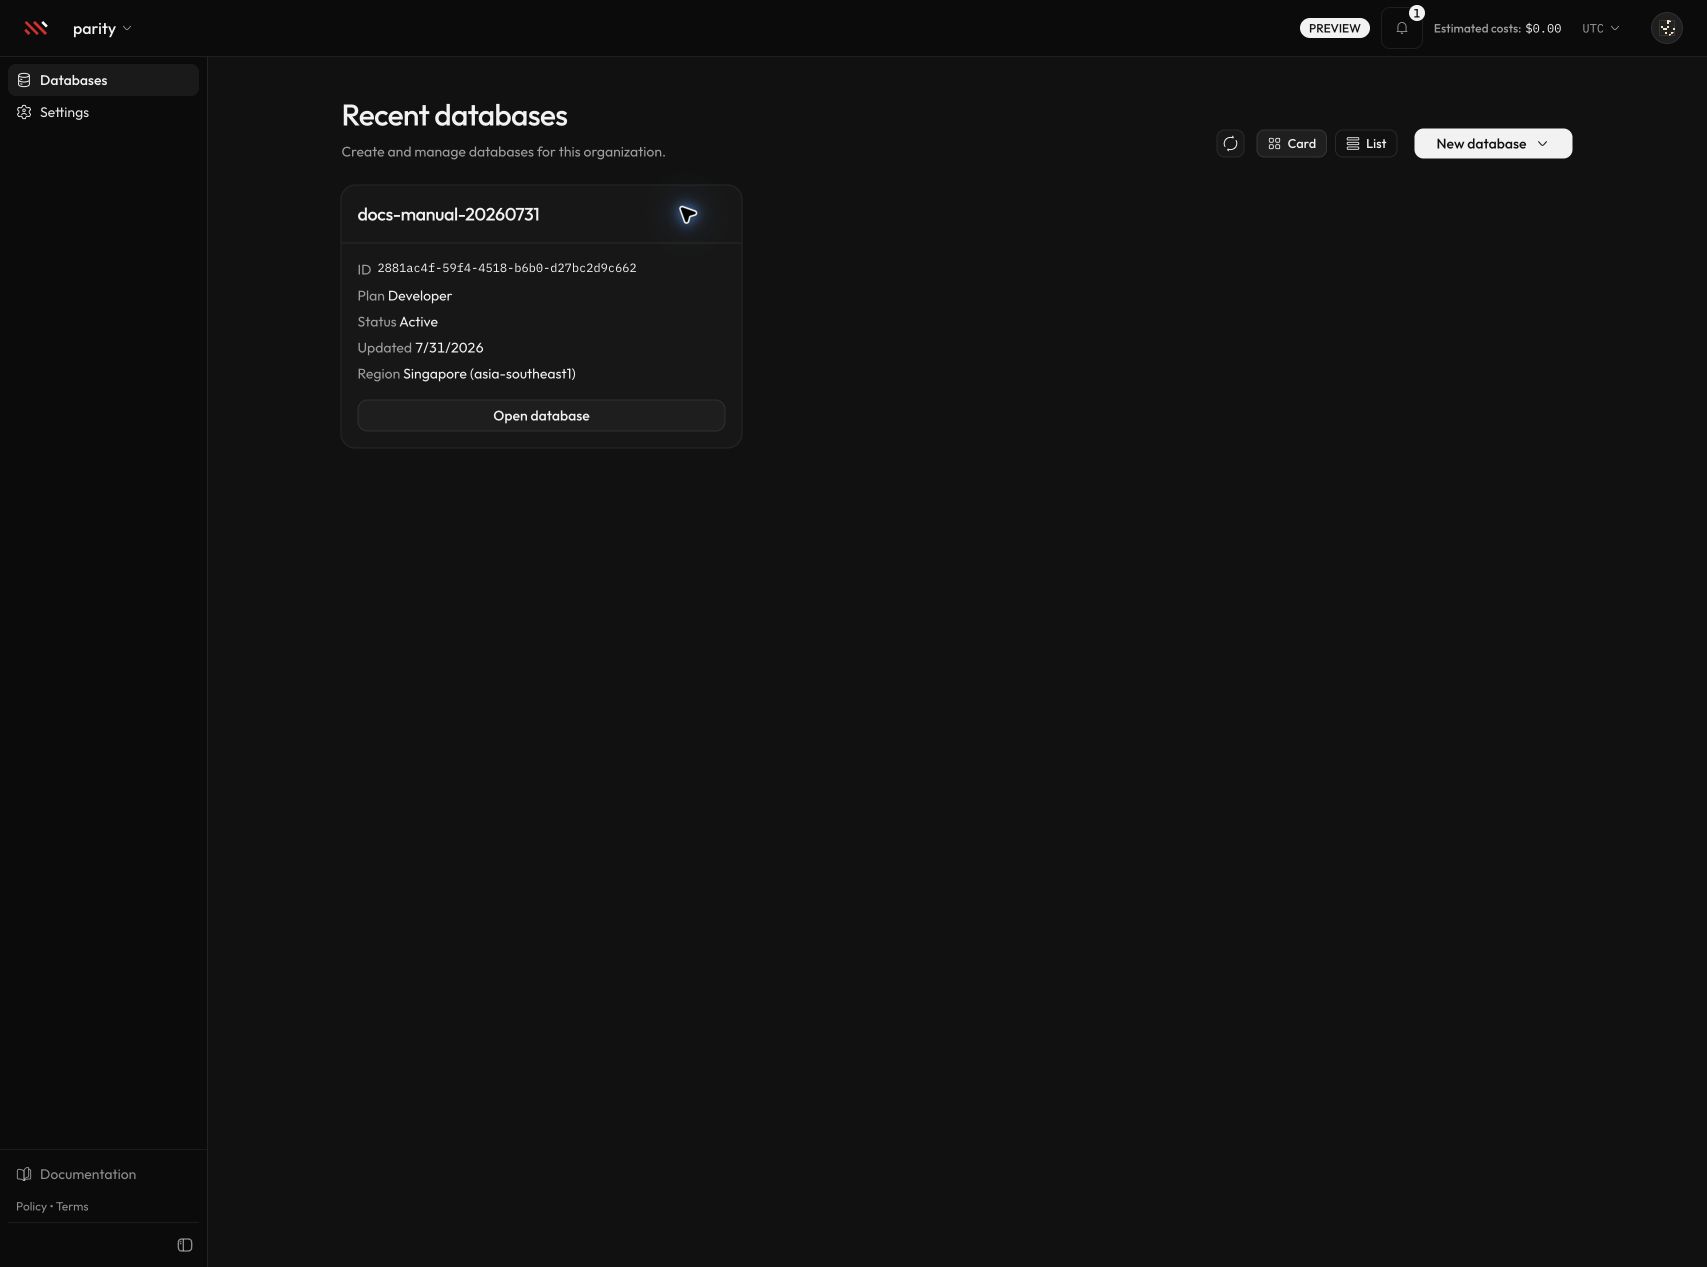
The organization route lists recent databases and provides both create and import entries. Select the image to open it at full size.
Expected result
At the end of the workflow:
- the database dashboard reports Ready
- you have copied an active
px_...API key into a secret manager or local environment - a request to
/api/v1/databases/{databaseId}/tb/query_accountsreturns HTTP200 - the response identifies the database and includes a
responsePayloadarray, which may be empty
The dashboard URL and API URL use different identifiers:
/{organizationSlug}/databases/{databaseName}
/api/v1/databases/{databaseId}
Copy Database ID from the database dashboard for API calls. Cluster ID identifies the TigerBeetle cluster and is mainly relevant to replica files and import metadata.
Plan-specific dashboard access
| Surface | Developer shared | Dedicated and Production |
|---|---|---|
| Dashboard, Connect, Query, Settings | Available | Available |
| Metrics | Project/request metrics | Infrastructure and request metrics |
| Logs, Cluster, Backups, Webhooks, diagnostics, upgrades | Not exposed as self-service surfaces | Available when the database profile and provider support them |
Do not treat a missing shared-plan navigation item as a provisioning failure. Parix intentionally hides surfaces that the Developer plan does not expose.
If you get stuck
- For a blocked create, import, or provisioning workflow, see Provisioning and configuration.
- For a rejected credential, wrong scope, or wrong database identifier, see API keys and authentication.
- For plan quotas and shared-plan restrictions, see Plans and limits.
Next steps
- Learn the access boundary in Connecting overview.
- Review supported request payloads in TigerBeetle operations.
- Set up least-privilege database reach in API keys.